Quickstart Guide to Pure CSS Menu Expression Web Add-In
Start the Ajatix Pure CSS Menu Expression Web Add-In
Place the cursor into a position on page where you want the menu to be inserted. Start
the Ajatix Pure CSS Menu add-in by clicking the Pure CSS Menu icon
![]() on the Ajatix toolbar.
on the Ajatix toolbar.
Select a CSS Menu theme
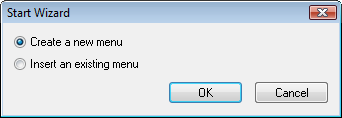
Click OK in the Start Wizard to accept the default option to create a new menu.
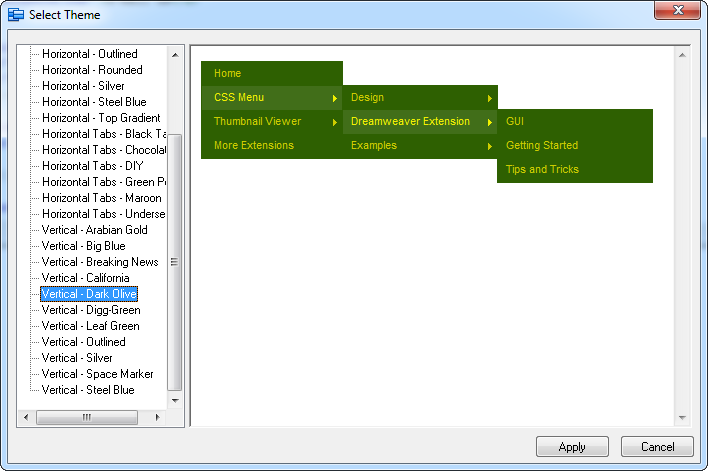
You will be presented with a number of preset themes. Select the one that closer meets your desired design. Ajatix Pure CSS Menus are fully customizable, you will have a chance to change the menu look, or apply a different preset theme of the menu any time later on.
Populate the menu
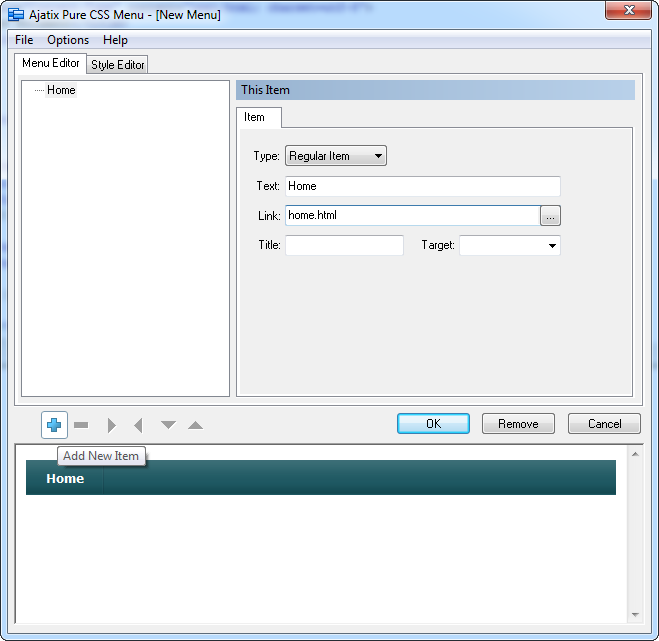
Compose your menu structure using Add, Delete, and Move buttons under the menu structure treeview. Enter a text and a link for each item in Text and Link fields of This Item panel correspondingly.
To create a submenu click Add New Item and then move the new item to the right by clicking Move Item Right.
Customize the menu design
Customize your menu design using the Style Editor by changing colors, images, borders, text settings, etc.
Preview the menu
The real-time preview window allows you to see what the menu looks like as you edit it. Any change in menu style or structure is immediately reflected in the preview window. Move the mouse over the menu to see how items look on mouseover and to open submenus.

Save the Pure CSS Menu
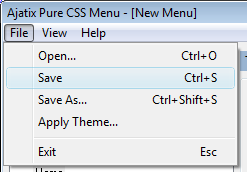
Save the menu into a CSS file by selecting the Save command in the File menu.
Select the location and the name of the CSS file and click on the Save button.

Click OK to finish working with the menu and close the Ajatix Pure CSS menu add-in.
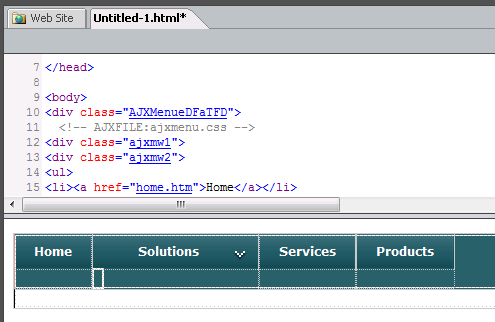
You will see an unordered list-based markup of the menu in the Code window of Expression Web and a WYSIWYG view of the menu in the Design view.
Editing the Pure CSS Menu
The following topics will help you to learn how to customize your menu: